Mold is a word that can make any homeowner feel worried. It is unhealthy, ugly, and can be dangerous. Mold can cause serious health risks, especially for people with allergies or breathing problems. Mold inspections are critical for keeping your home safe and healthy. You may be considering a new property purchase or worried about indoor air quality in your home. Knowing what to anticipate during a mold inspection and how to prepare for it can be a difference-maker. This blog details a comprehensive mold inspection checklist to prepare yourself for the process and prepare your home for evaluation.
What Is A Mold Inspection?
A mold inspection is an in-depth examination by a certified professional to determine the presence of mold in your home or property. It involves examining moisture-prone areas, checking for visible mold, and sometimes testing air quality to measure the level of mold spore concentration.
Inspections are usually recommended in the following cases:
- You see visible mold.
- There is a musty smell that persists in specific areas.
- Your property has recently been exposed to water damage.
- You or your family members are experiencing mysterious health problems, such as coughing, sneezing, or skin irritation.
By conducting a mold inspection, professionals can identify the source of mold growth, assess its severity, and recommend remediation steps to protect your health and property.
Why Is Home Preparation For Mold Inspection Important?
A well-prepared home will see the inspection run smoothly and have accurate results. If one does not prepare, the mold inspection may not cover all critical areas, or results may be incomplete. Preparation time benefits both parties. For the homeowner, it speeds up the process and allows for thorough identification. A prepared environment will enable the inspector to focus strictly on identifying mold and making actionable recommendations.
Mold Inspection Checklist: What To Expect
During a mold inspection, the following steps usually take place:
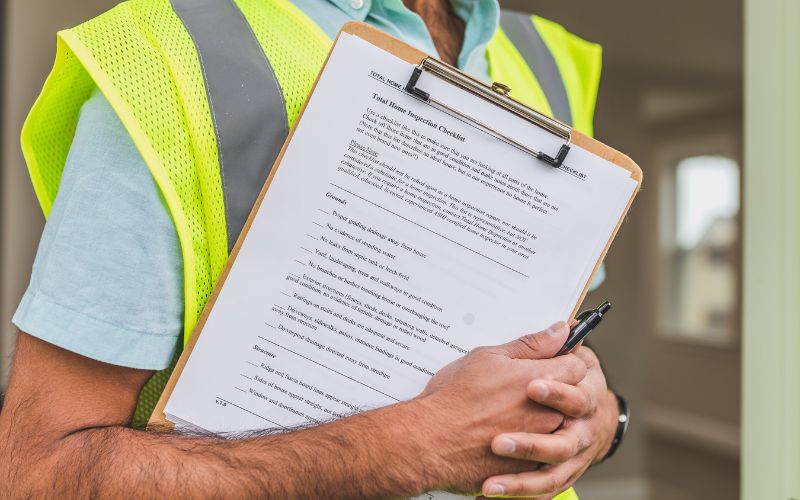
Initial Consultation
The inspection begins with a discussion. The inspector will ask questions about your home’s history, recent water damage, areas of concern, and symptoms experienced by the occupants. This preliminary consultation helps the inspector focus on high-priority zones while planning the evaluation.
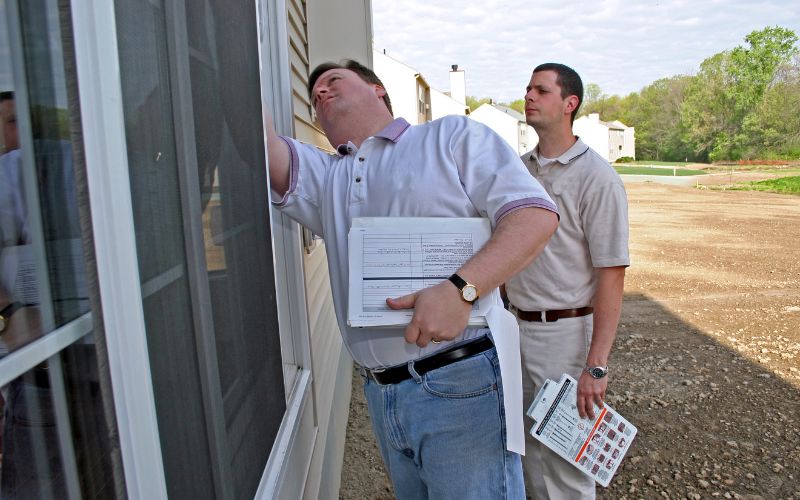
Visual Inspection
The visual inspection is a walk-through of your property. The inspectors will look for mold by looking for discoloration on walls, ceilings, or floors. They will also look for water stains, peeling paint, or bubbling wallpaper, which can indicate moisture problems.
Some common areas targeted during the visual assessment include:
- Bathrooms
- Kitchens
- Basements and crawl spaces
- Attics
- Laundry rooms
- HVAC systems
- Moisture Mapping
Advanced equipment, such as moisture meters, detect areas that retain moisture or are humid. Mold grows best in damp areas, so detection of moisture retention helps identify potential areas of hidden mold growth.
Air Quality Testing

Inspectors can perform air quality testing if mold is suspected but not seen. Air quality testing involves taking air samples from different parts of the property and then analyzing them for concentration of mold spores. The air quality test helps ascertain the extent of mold spread and whether it affects your indoor air.
Sampling and Laboratory Analysis
If mold is visually observed, samples will be collected for further laboratory testing to determine the specific type of mold, which in turn can aid in remediation efforts. Since not all mold is toxic, identifying the particular strain is also beneficial in shaping remedies.
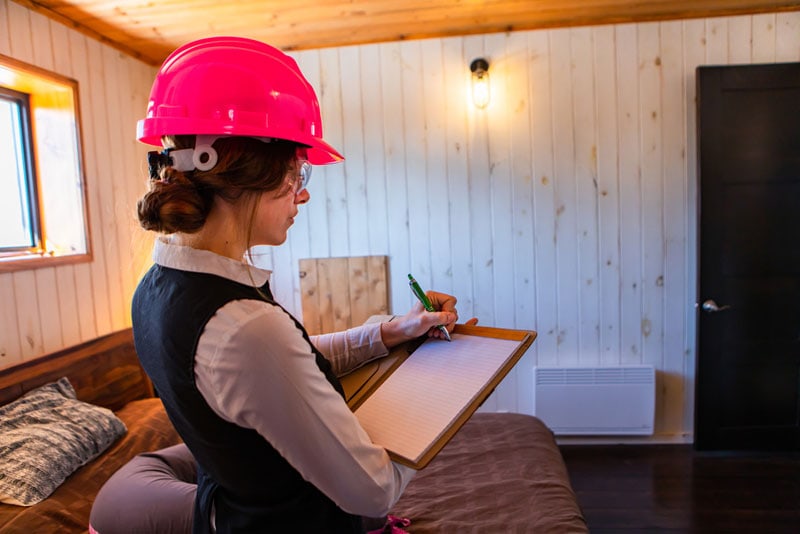
Thorough Reporting
You will be presented with a report outlining the entire inspection. Usually, the following elements are present:
- Photographic images of areas of concern
- Moisture level readings
- Results from any air quality test
- Recommendations
How To Prepare For A Mold Inspection
Proper preparation ensures a smooth and effective inspection process. Here are steps you can take to get your home inspection-ready:
Declutter Key Areas
Clear access to moisture-prone areas, such as basements, crawl spaces, under sinks, and around HVAC systems. Remove any stored items that might obstruct the inspector’s view or hinder the use of specialized equipment.
Note Problem Areas
Before the inspection, jot down areas where you’ve noticed mold, water damage, or musty odors. Sharing this information with the inspector can help streamline their efforts and ensure nothing is overlooked.
Fix Minor Leaks
Before the inspection, consider fixing any active leaks—such as a dripping faucet or leaky pipe. While inspectors can identify the source of moisture, addressing obvious issues beforehand may save time during the process.
Ensure Utilities Are Operational
Inspectors require electricity and water to be working properly to inspect. For instance, they may need to check the HVAC systems or test moisture levels in plumbing fixtures.
Keep Pets Out of the Way
For safety and convenience, keep pets confined to a separate area or have them stay elsewhere temporarily during the inspection. This way, the inspector can work without interruptions.
Ventilate Your Home
Have the windows open or fans running ahead of the inspection. Proper ventilation reduces humidity and may dissipate odors; however, trained inspectors will recognize underlying problems.
What Happens After The Inspection?
Once the inspection is over, there is usually:
Reviewing the Report
Carefully read the findings of the inspector. Know how severe the problem is with the mold, the areas affected, and the steps to be followed in remediation.
Remediation scheduling
If mold is detected, schedule a professional remediation service promptly. Mold spreads quickly, so delaying action can worsen the problem and increase costs.