
Indoor air quality is crucial to maintaining a healthy home environment, yet it’s often overlooked. Mold, in particular, can significantly impact air quality, leading to potential health issues ranging from mild allergic reactions to serious respiratory problems. This guide explores DIY air quality mold testing methods, offering a step-by-step approach to identifying and addressing mold issues in your home. With growing concerns about indoor air pollution, it’s essential to understand how to detect and mitigate mold effectively, ensuring a safe living space for you and your family.
Why Is Mold Testing Important?

Mold spores are everywhere but can grow and multiply when they find a damp environment, releasing more spores into the air. The rapid spread of mold can cause Mold exposure can cause various health problems, especially for individuals with allergies, asthma, or compromised immune systems. Common symptoms of mold exposure encompass sneezing, coughing, skin rashes, and, in severe instances, respiratory infections. Furthermore, mold can damage your home, leading to costly repairs if left unchecked.
By conducting regular mold testing, you can detect mold growth early, take appropriate action to remove it, and prevent further contamination. DIY mold testing is an affordable and straightforward method to keep your home safe, making it a popular choice for homeowners.
Common Signs Of Mold Growth
Before diving into air quality testing for mold, it’s crucial to recognize the common signs of mold exposure:
- Visible Mold: Mold often appears as black, green, or white spots on walls, ceilings, or other surfaces. Depending on the type of mold, it can also appear fuzzy or slimy.
- Musty Odor: A persistent musty smell is a telltale sign of mold, even if you can’t see it. This odor is often most noticeable in damp areas like basements, bathrooms, or kitchens.
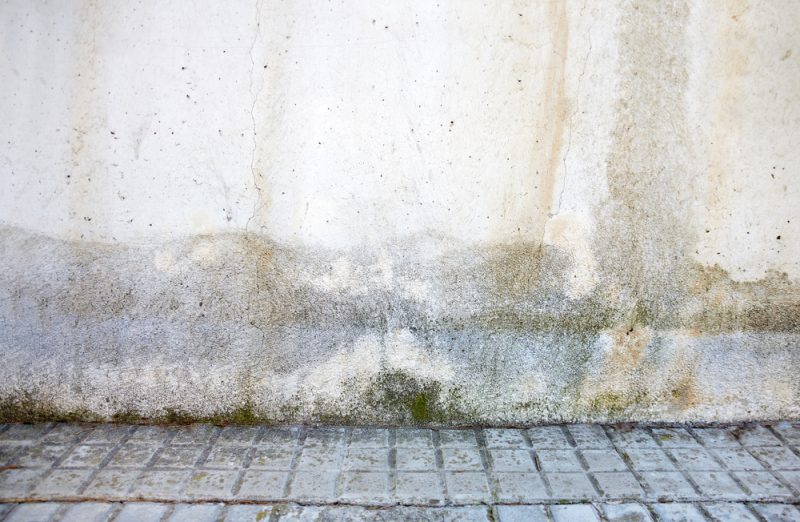
- Water Damage: Areas exposed to water damage, such as leaky roofs or plumbing, are prime locations for mold growth. Discoloration or peeling paint can indicate hidden mold.
- Health Symptoms: If household members experience unexplained allergic reactions or respiratory issues, mold could be the culprit, especially if symptoms improve when away from home.
DIY Mold Testing Methods

Several testing methods can be used for mold at home. While professional mold testing is always an option, DIY methods are cost-effective and provide quick insights.
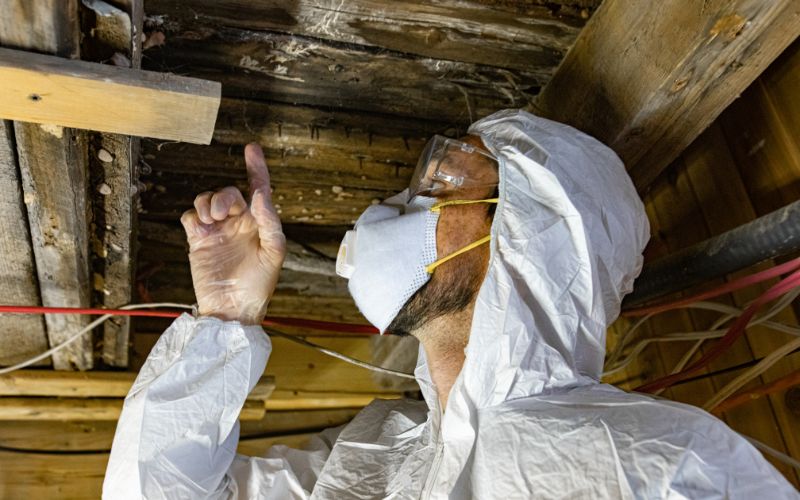
Visual Inspection
The first and most straightforward method is a visual mold inspection. Walk through your home, particularly in areas prone to moisture, and look for any visible signs of mold. Pay attention to
- Bathrooms: Check under sinks, around showers, and behind toilets.
- Kitchens: Inspect under sinks, behind refrigerators, and around windows.
- Basements and Attics: Basements and attic areas are often damp and poorly ventilated, making them prime locations for mold.
- HVAC Systems: Mold can grow in HVAC systems, such as ducts, vents, and filters, so inspect these areas.
While visual inspection is useful, it’s limited to areas where mold is visible. Hidden mold may still be behind walls, under flooring, or in air ducts.
Surface Testing Kits
Surface mold testing kits are readily available at hardware stores or online. These kits typically include swabs or tape for collecting samples from suspicious areas.
How to Use Surface Testing Kits
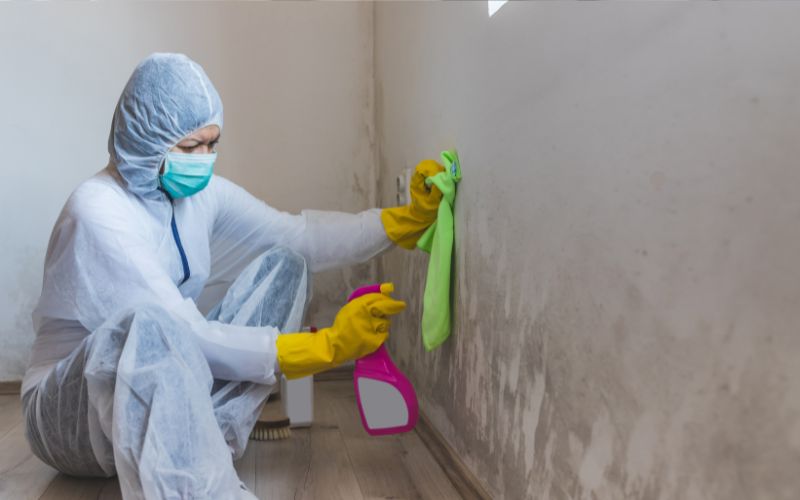
- Preparation: Wear gloves and a mask to avoid direct contact with mold.
- Sampling: Use the swab or tape to collect samples from surfaces where you suspect mold. Press the swab or tape firmly against the surface to capture as many spores as possible.
- Analysis: Some kits require you to send the samples to a lab for analysis, while others provide immediate results based on color changes in a testing solution.
Surface testing is useful for identifying specific types of mold on surfaces, but it doesn’t provide information about airborne spores.
Air Sampling Kits
Air sampling kits are designed to detect mold spores in the air, making them ideal for identifying mold that isn’t visible. These kits usually include an air pump and collection plates.
How to Use Air Sampling Kits
- Set-Up: Place the collection plate in the area you want to test. Common locations include bedrooms, living rooms, and basements.
- Collect Samples: Turn on the air pump to draw air over the collection plate for a specified period, usually 5-10 minutes.
- Analysis: After collecting the sample, seal the plate and follow the kit’s instructions, which may involve sending it to a lab for analysis or waiting for an on-site result.
Air sampling can provide a more comprehensive overview of mold presence in your home, particularly in detecting spores that aren’t easily visible.
Petri Dish Mold Testing
Another popular DIY method involves using Petri dishes with a growth medium that encourages mold spores to grow, making them visible.
How to Use Petri Dish Testing Kits
- Preparation: Place the Petri dishes around your home, particularly in areas where you suspect mold.
- Exposure: To collect spores, leave the dishes open to the air for a specific time, usually 24-48 hours.
- Incubation: Close the dishes and leave them undisturbed for a few days to allow any collected spores to grow.
- Observation: After the incubation period, check the dishes for mold growth. Any colonies that form are indicative of mold spores in the air.
Petri dish testing is an inexpensive method that provides visual confirmation of airborne mold spores, but it doesn’t identify the specific type of mold.
Moisture Meters
Mold requires moisture to grow, so identifying areas with high moisture levels can help you pinpoint potential mold problems. A moisture-checking meter measures the amount of water in materials like wood, drywall, or concrete.
How to Use a Moisture Meter
- Check Moisture Levels: Place the moisture meter’s probes against the surface you want to test. The device will provide a moisture reading, usually expressed as a percentage.
- Interpret Results: High moisture levels, typically above 20%, indicate a higher risk of mold growth. Areas with elevated moisture should be inspected for mold.
While air quality moisture meters don’t test for mold directly, they help you identify areas where mold is likely to develop, allowing you to take preventative measures.
Interpreting Test Results
Once you’ve completed your DIY mold testing, it’s essential to interpret the results accurately:
- Positive Results: If your testing reveals mold through visible growth or spore detection, you should immediately address the problem. This may involve cleaning the affected areas with mold-killing products, improving ventilation, or removing and replacing contaminated materials.
- Negative Results: A negative result only sometimes means your home is mold-free. Mold can be hidden in areas you didn’t test, or the concentration of spores may be below detectable levels. Regular monitoring and prevention of mold are key to maintaining a mold-free environment.
Preventing Mold Growth
After testing, take steps to prevent future mold growth:
- Control Humidity: Keep your house humidity levels below 60%, ideally between 30-50%. Use indoor dehumidifiers and air conditioners to maintain optimal humidity.
- Fix Leaks: Repair any plumbing leaks or roof damage promptly to prevent water accumulation.
- Ventilation: Ensure proper ventilation in bathrooms, kitchens, and laundry rooms to reduce moisture buildup.
- Regular Cleaning: Clean and dry areas prone to moisture regularly, and use mold-resistant products in bathrooms and basements.
- Monitor Air Quality: Use air purifiers with HEPA filters to capture mold spores and improve indoor air quality.
When To Call A Professional
While DIY mold testing is effective for initial detection, there are situations where professional intervention is necessary:
- Extensive Mold Growth: Professional mold remediation is required if mold covers more than 10 square feet or is deeply embedded in building materials.
- Health Concerns: If household members experience severe symptoms related to mold exposure, it’s crucial to seek professional testing and remediation.
- Persistent Mold Problems: If mold returns after cleaning, a professional assessment can identify underlying issues that must be addressed.
Conclusion
DIY air quality mold testing is a practical and cost-effective way to maintain a healthy home environment. By regularly inspecting, testing, and taking preventative measures, you can protect your home and your family from the harmful effects of mold. Early fungus detection is key to preventing mold from becoming a serious problem. While DIY methods are useful, don’t hesitate to call in professionals when necessary to ensure your home remains a safe and comfortable place to live.