
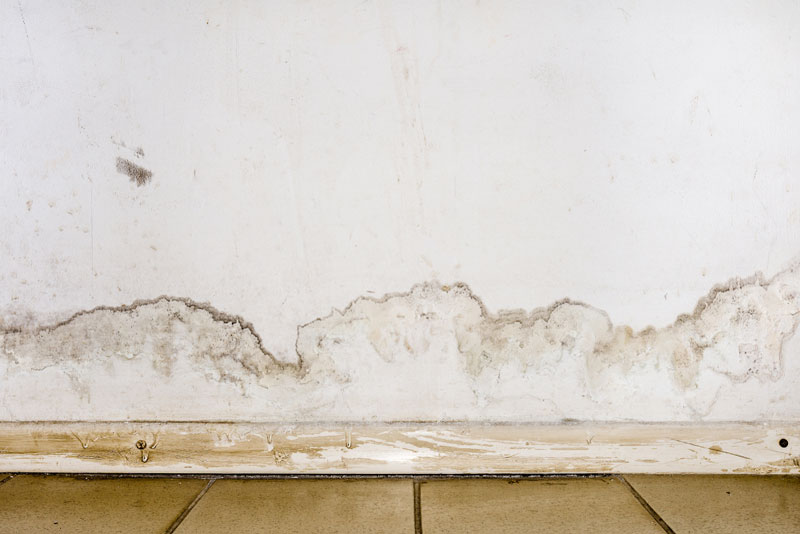
Black mold under sinks is a common problem, especially in damp areas. If left untreated, it can harm your health and damage your home. It’s important to take action early to prevent problems from getting worse. This guide will show you how to safely and effectively remove black mold under your sink.
Facts About Black Mold
Humidity is a Major Factor: Excessive humidity levels, especially in kitchens or bathrooms, can cause mold and mildew to thrive. If you’re experiencing frequent mold problems, reducing humidity is crucial. Use a dehumidifier and ensure windows and doors are open for proper ventilation to keep moisture at bay.
Mold Can Cause Health Problems: Inhaling mold spores, especially in wet conditions, can cause respiratory problems. Common symptoms include coughing, sneezing, and irritation in the throat. Breathing in harmful substances over a long time can lead to serious health problems. This is especially true for people with breathing issues or weak immune systems.
Not just an aesthetic problem: While mold can be unsightly, it also damages wood, paint, and other materials underneath your sink. The longer you leave it there, the more costly repairs will be.
Caulk does help: Caulking around your sink can prevent water from entering the cabinet, creating moisture buildup. It’s one of the simplest and most effective ways to avoid mold growth, or you can use kitchen sink products.
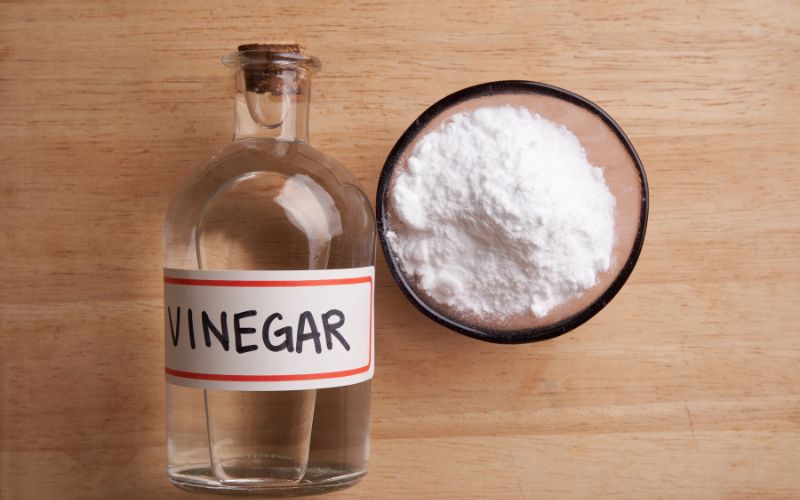
Baking Soda for a Safe Clean: Many people turn to commercial mold removers, but baking soda is an effective, natural solution that disinfects and eliminates odors while being gentle on surfaces.
Why Does Black Mold Grow Under Sinks?
The area under a sink is often poorly lit, warm, and prone to moisture from leaky pipes or condensation. This combination proves to be an ideal condition for mold growth. While a slow-dripping pipe, poor ventilation, or spills can cause it, the first step must be correcting the underlying cause for the cure to last.
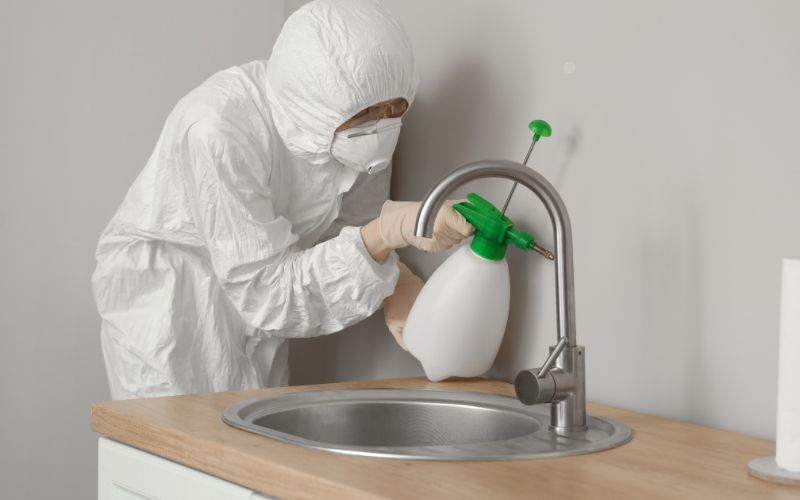
Step 1: Gather the Essential Materials
Before you start, ensure you have the correct equipment and materials to do it safely. Here is the list you will need:
Protective gear: Rubber gloves, goggles, and an N95 mask.
Plastic sheeting: To enclose the infected area.
Cleaning solutions: Vinegar, hydrogen peroxide, or a commercial mold cleaner.
Scrub brush or sponge: You use this to scrub the wall.
Bucket of warm water: For rinsing off.
Disposable towels or rags: These are for cleaning and drying off.
Trash bags: To throw away contaminated items.
Sealable container: This is for holding any small, affected items.
Step 2: Locate and Isolate the Problem
Thoroughly inspect the area to determine the extent of the mold. Observe behind the back wall, which holds the sink—plumbing fixtures, including the associated materials—nearby surfaces such as cabinets or the floor. Consult professionals if the mold has spread to more than 10 square feet or has deeply penetrated walls or floors. However, for less severe patches, you can remove the mold independently.
Step 3: Address Moisture Source
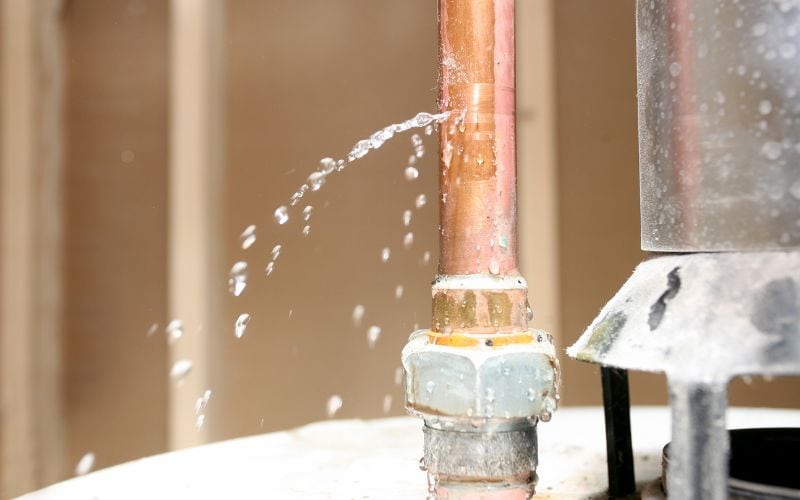
Make sure you address moisture issues before attempting to remove any mold. The most common sources of moisture include:
Leakage from the pipes: Tighten the loose fittings or replace a damaged pipe.
Loose Sink Seals: Use caulk to seal the gaps in the sinks.
Condensation problems: Wrap pipes to minimize the formation of condensation. Mold will likely re-occur unless the cause is remedied.
Step 4: Eliminate Moldy Materials
If mold has invaded porous materials like wood, drywall, or insulation, these materials may need to be removed and replaced. Remove materials as follows:
Cut away damaged materials: Use a utility knife to remove affected sections of drywall or wood. Be careful not to spread mold spores.
Dispose of debris safely: Place contaminated materials in sealed trash bags and discard them immediately.
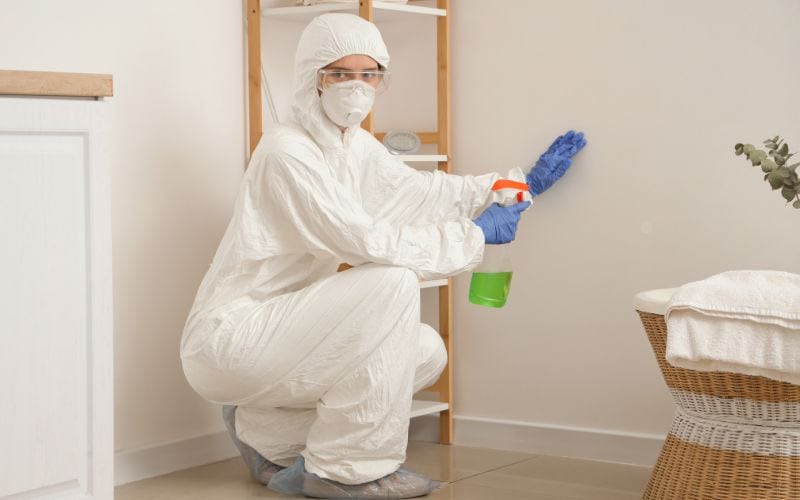
Step 5: Clean and Scrub the Mold
Now that the source of moisture is resolved and contaminated materials are removed, it’s time to clean the area thoroughly:
Apply a cleaning solution: Spray the moldy surface with vinegar, hydrogen peroxide, or a commercial mold cleaner. Let it sit for 15–20 minutes to break down the mold.
Scrub the area: Use a scrub brush or sponge to clean mold off hard surfaces such as pipes, cabinets, and countertops. Be more meticulous when cleaning and rinsing corners and crevices.
Rinse with water: Use a moistened cloth to clean the scrubbed area to remove dirt and other residues.
Dry completely: Dry the cleaned area using a towel or fan. Mold loves to thrive in damp conditions, so this step is important.
Step 6: Apply Preventative Measures

To prevent mold from coming back, ensure the following:
Increase ventilation: Install an exhaust fan or dehumidifier to reduce moisture levels.
Inspect regularly: Check the area under the sink periodically for leakages and any signs of mold.
Use mold-resistant materials: Apply mold-resistant sealants to surfaces always exposed to moisture.
Step 7: Dispose of Cleaning Materials
When cleaning is done, the disposal of materials should be done in a manner that does not disseminate mold spores around. Proceed as follows:
- Put used sponges, towels, and rags in a sealed plastic bag.
- Get rid of disposable gloves.
- Clean all the reusable equipment using soap and hot water, and if possible, let it dry in the sun.
When To Call A Professional
Mold patches are usually small and can be cleaned using DIY methods. However, you should call a professional in these situations:
- The area affected exceeds 10 square feet.
- Mold has penetrated deep into walls, flooring, or cabinetry.
- You or your family members have respiratory conditions or allergies that could be aggravated by mold exposure.
- Professionals have the tools and expertise to ensure a thorough cleanup, minimizing the risk of recurrence.
Final Thoughts
Removing black mold beneath sinks requires a step-by-step process to ensure the job is done safely and effectively. And if followed to the letter, mold growth will disappear and won’t return. Remember that tackling the root cause of the problem is achieving long-term success. Regular maintenance and vigilance will be geared toward helping your house remain mold-free and healthy.
Don’t hesitate to bring out the pros if you notice significant growth or structural damage. Proper and timely intervention can save you time and money and protect your family’s health.
Frequently Asked Questions
Is Vinegar or Bleach Better for Killing Mold?
When considering vinegar vs. bleach, go for vinegar as a natural alternative. It will prove safer and more effective at preventing regrowth. Ensure proper ventilation and take all necessary safety measures. Vinegar provides long-lasting solutions for mold without harming it.
What Kills Black Mold in Sink Drain?
Black mold in sink drains can be dealt with using natural remedies like vinegar and hydrogen peroxide. Though do-it-yourself solutions offer some mold prevention, professional help should be considered for health risks and long-term effects to ensure safety and effectiveness.
Can I Use Bleach to Remove Black Mold?
Yes, bleach may kill black mold, but most likely, spores will persist. Bleach disinfects the surface only and does not penetrate porous surfaces such as wood or drywall. To fully remove mold, the best approach is to combine it with other cleaning solutions, such as baking soda or hydrogen peroxide. Alternatively, use a professional mold remover solution or professional mold remediation services for deeper and more effective cleanup.
How can I prevent Mold Under My Sink in the future?
Ventilate the area to minimize the possibility of fungus problems in the future. Control the humidity by using a dehumidifier or opening windows as needed. Check for leaks and repair as soon as you find them. Seal gaps around pipes and faucets with caulking to prevent moisture from entering the cabinets.